A Big Battery Adapter for Arduino
by djmatic
Arduino can be run from a DC power source between about 8 and 20 volts. This includes 12V "gel-cell" batteries like the one in the picture below. This tutorial shows you how to connect the Arduino to a 12V gel-cell, which can provide days of Arduino runtime.
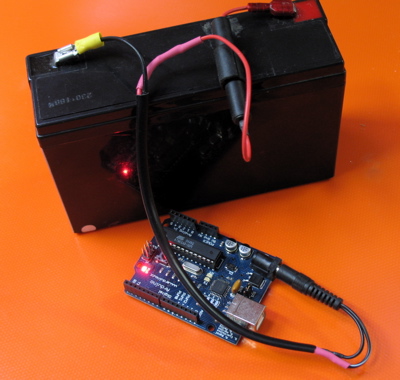
Arduino takes cover behind a large gel-cel battery.
What you'll need: a 5.5mm/2.1mm power plug, a soldering iron, solder, some black and red wire, an inline fuse holder and a couple of crimp terminals that fit your battery.
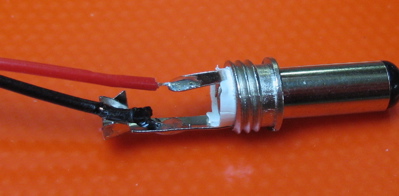
First, solder a piece of black (-) wire to the outside connection of the plug. Next, solder a piece of red (+) wire to the centre connection of the plug.
Optionally, add a piece of heatshrink tubing on the red wire to protect the positive connection.
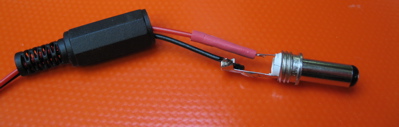
Next, solder the fuseholder inline with the red wire (the fuseholder is the black tube-thing in the image below). A fuse is a wise idea because these batteries can supply huge, spectacle-producing amounts of currents over short periods. The fuse is there to prevent fireworks. A one or two amp slow-blow fuse should do the trick.
Finally, crimp or solder your terminals onto the remaining ends of the red and black wires.
You should have something like this:

Don't forget to charge!